> For the complete documentation index, see [llms.txt](https://docs.annoto.net/setup-guides/llms.txt). Markdown versions of documentation pages are available by appending `.md` to page URLs; this page is available as [Markdown](https://docs.annoto.net/setup-guides/brightspace/deployment-guide-lti-1.3-dynamic-registration.md).
# Deployment Guide LTI 1.3 - Dynamic Registration
## Overview
This document shows how to add Annoto to your D2L environment via LTI 1.3
> Annoto can be setup in Brightspace with LTI 1.3 dynamically or manually. It is recommended to use dynamic registration.
### Register the Tool
1. Click on the settings icon, then click on **Manage Extensibility.**
2. From the **LTI Advantage** tab, click **Register Tool.**
3. Choose **Dynamic,** enter the Annoto registration URL, check the checkbox to **Configure Deployment** and click **Register:**
* EU -
* US -
* Staging -
4. Input the **clientID** and **Registration Key** provided by Annoto, and click **Register**:
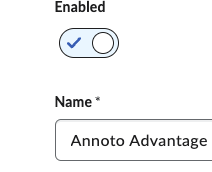
5. Please notice that by default the registration is Disabled. Click on the newly created registration, enable it scroll to the bottom and click on **Save**:
6. Click on **View Deployments** link
7. Open the newly created deployment.
> Note the deployment will have the same name as the registration.
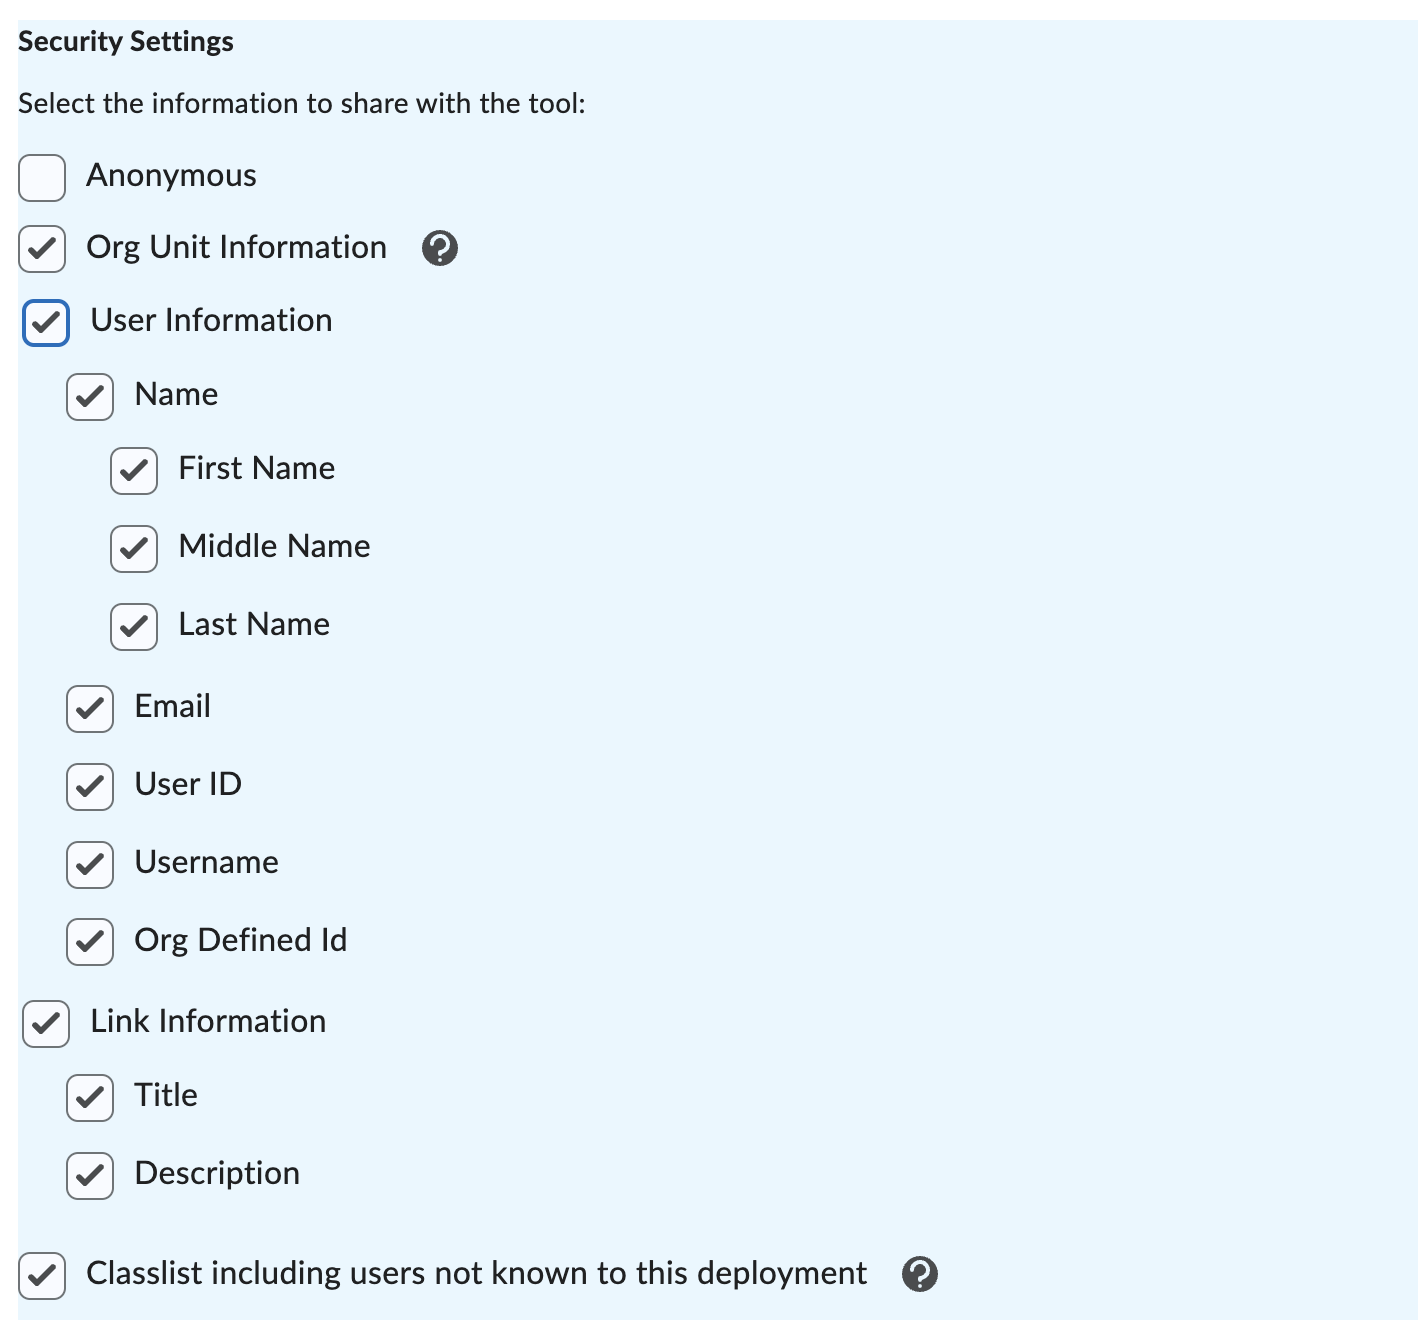
8. Scroll to the "**Security Settings**" section and make sure all checkboxes except "Anonymous" are enabled
8. Under **Configuration Settings**, enable **Auto Create Grade Items** and optionally enable **Grades created by LTI will be included in Final Grade:**
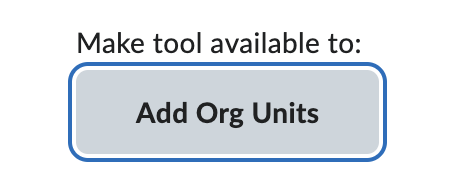
9. **Add Org Units** the too should be available to:
10. Click on **Save** and the Tool will be available for usage in the select Org units.
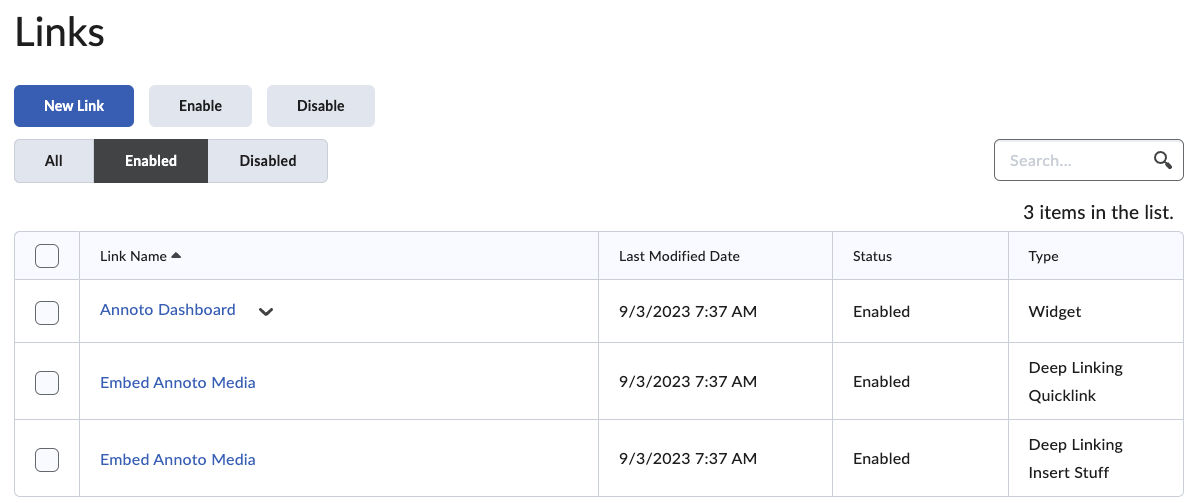
Annoto automatically adds 3 links which can be viewed by clicking on **View Links**:
Annoto has now been registered in Brightspace and is ready for use!
\